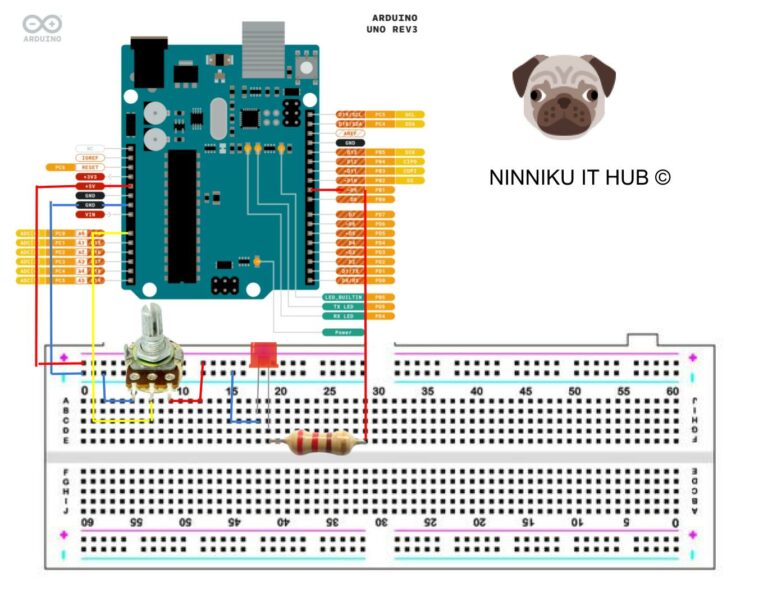
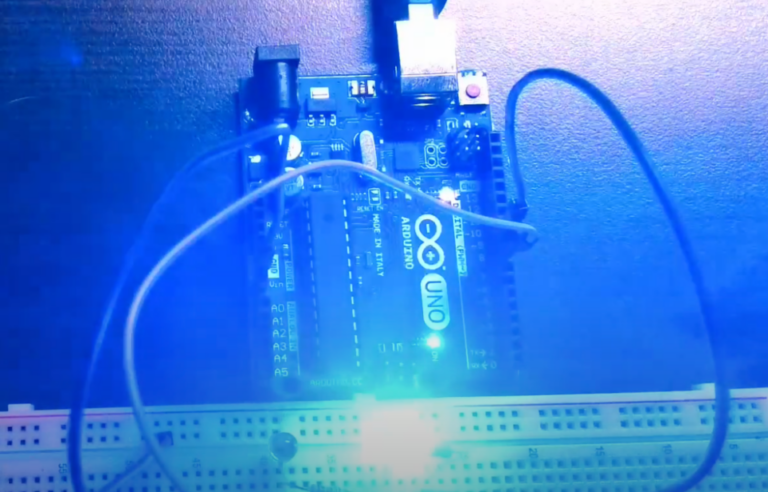
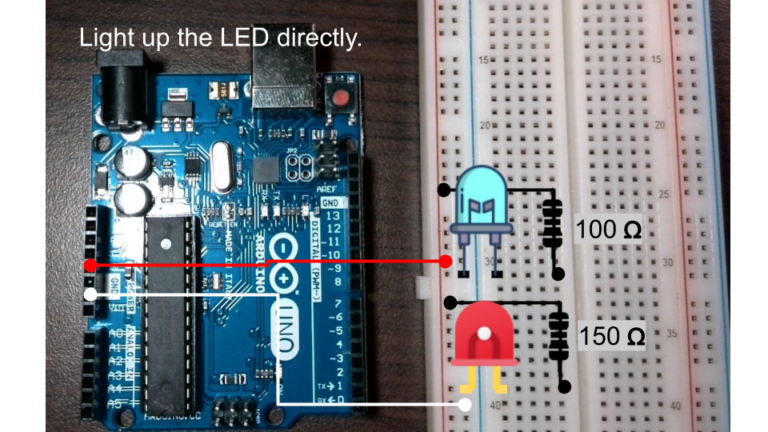
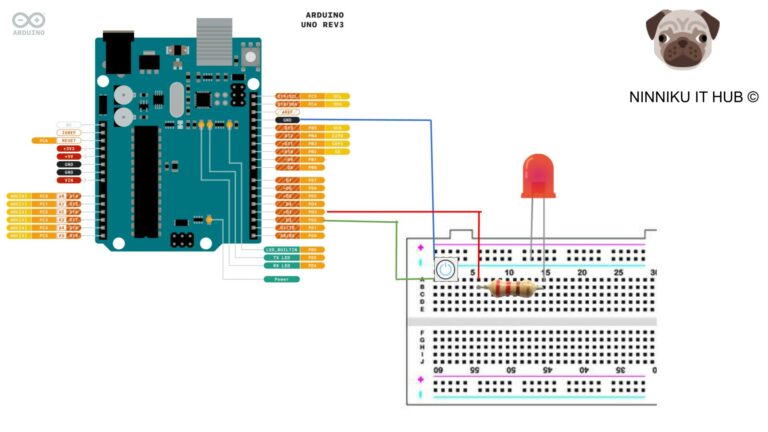
In this article, you will learn how to use an Arduino board and a button to control an LED. The article provides a step-by-step guide to setting up the circuit and programming the board using the Arduino IDE. The code example demonstrates how to turn on the LED when the button is pressed and turn it off when the button is released, using the digitalRead() and digitalWrite() functions. The article also includes ideas for customizing and expanding the circuit to create more advanced projects. By following the instructions in this guide, you can learn the basics of electronics and programming and create your own interactive projects.
Tag: LED
Shine Bright with Potentiometer: Controlling LED Brightness with PWM on Arduino
Introduction: Potentiometers are versatile devices commonly used in electronics to control the voltage or current of a circuit. In this article, we will explore how to use a potentiometer to control the…
Arduino Tutorial: Control LED Brightness with PWM for Breathing Effect
In the previous Arduino tutorial, we learned how to control the on/off state of an LED. In this tutorial, we will learn how to control the brightness of an LED using Pulse…
Getting Started with Arduino: Lighting up an LED
Learn how to light up LEDs with an Arduino Uno board and the proper wiring techniques. Discover the voltage requirements for different colored LEDs and how to calculate the necessary resistor value…
Quick Guide for Arduino IDE Developers
Are you a developer new to the Arduino IDE software? Here’s a quick guide to help you get started with writing code for your Arduino boards. Step 1: Install the Arduino IDE…