 IoT
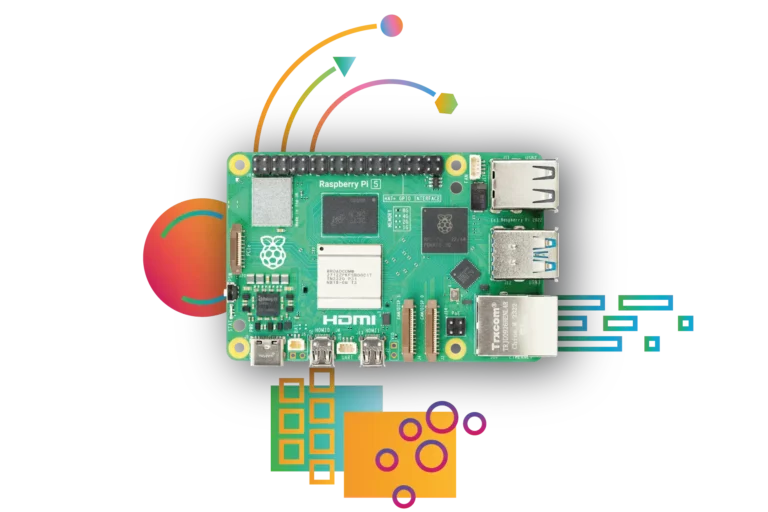
IoTHow to Check if Raspberry Pi Operating System is 32-bit or 64-bit
To determine whether your Raspberry Pi is running a 32-bit or 64-bit operating system, you can use various methods. Here are some steps: 1. Using...
Discover the exciting world of IoT! From smart homes to industrial automation, our IoT category covers everything you need to know about the latest trends, technologies, and applications in this rapidly growing field. Join us on a journey to explore the endless possibilities of IoT and unleash the power of connected devices to transform the way we live and work.
15 篇文章 IoTTo determine whether your Raspberry Pi is running a 32-bit or 64-bit operating system, you can use various methods. Here are some steps: 1. Using...
 IoT
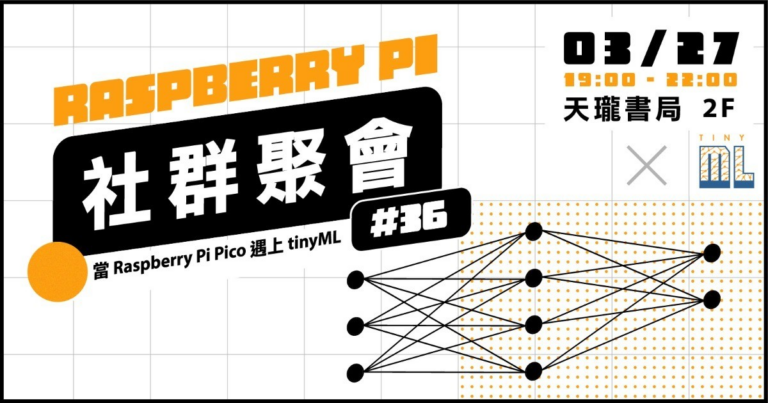
IoTThe 36th of the Raspberry Pi meetup, the topic is "tinyML". Speaker 1: sosorryTopic: Raspberry Pi Pico W + tinyML Speaker 2: Jack HsuTopic: Computer Vision...
 IoT
IoTArduino is a popular platform for creating electronic projects due to its ease of use and versatility. However, when working with digital inputs, it is important to be aware of the concept of "floating state". In this article, we will explain what floating state is and how it can affect your Arduino projects.
 IoT
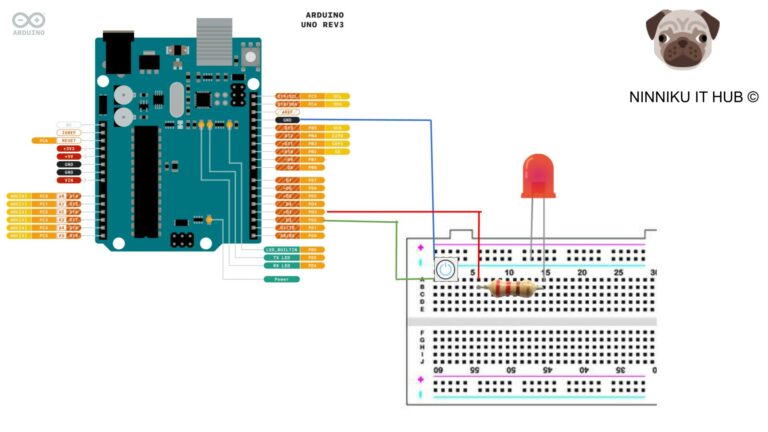
IoTIn this article, you will learn how to use an Arduino board and a button to control an LED. The article provides a step-by-step guide to setting up the circuit and programming the board using the Arduino IDE. The code example demonstrates how to turn on the LED when the button is pressed and turn it off when the button is released, using the digitalRead() and digitalWrite() functions. The article also includes ideas for customizing and expanding the circuit to create more advanced projects. By following the instructions in this guide, you can learn the basics of electronics and programming and create your own interactive projects.
 IoT
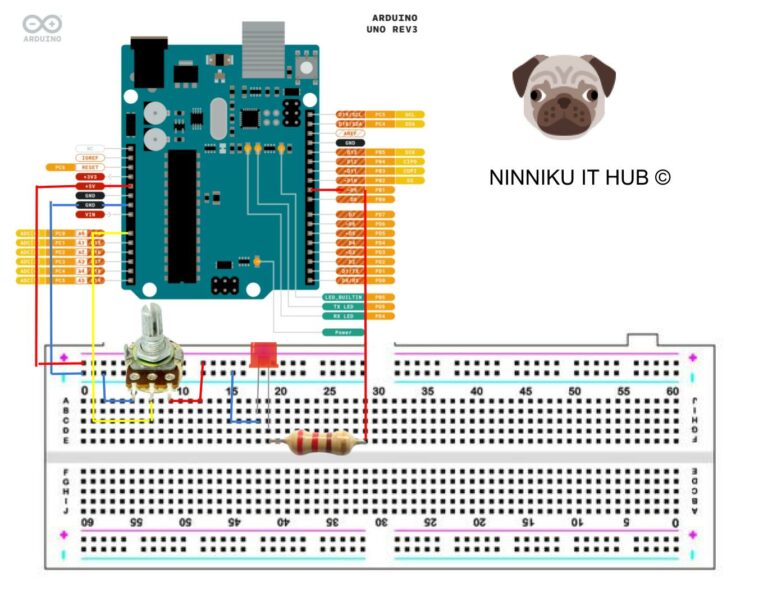
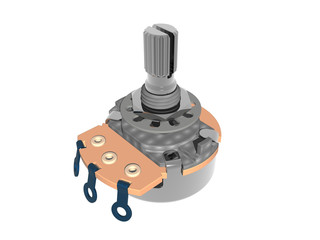
IoTIntroduction: Potentiometers are versatile devices commonly used in electronics to control the voltage or current of a circuit. In this article, we will explore how...
 IoT
IoTPotentiometers, also known as pots, are variable resistors that allow users to adjust the amount of resistance in a circuit. They are commonly used in...
 IoT
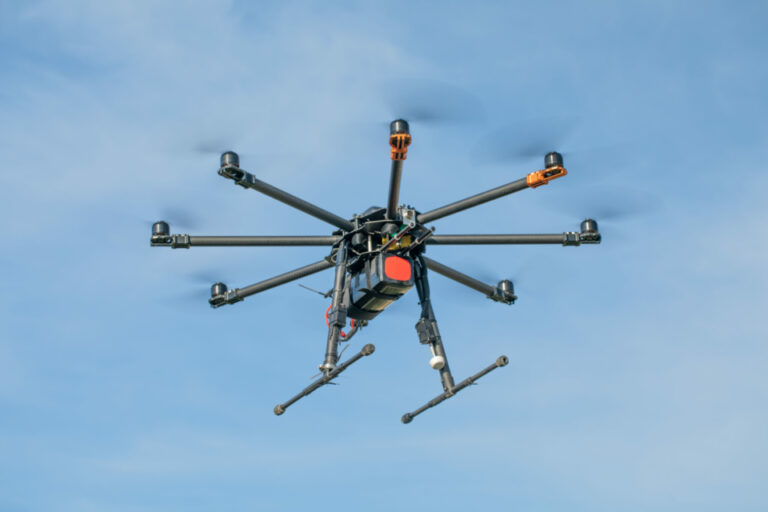
IoTHave you ever wondered how your electric toothbrush or the motor in your drone works? Chances are, they use a technique called Pulse Width Modulation...
 IoT
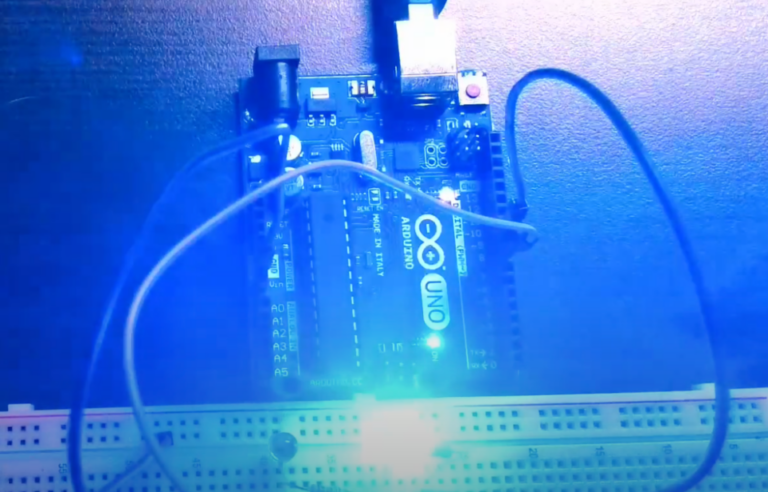
IoTIn the previous Arduino tutorial, we learned how to control the on/off state of an LED. In this tutorial, we will learn how to control...
 IoT
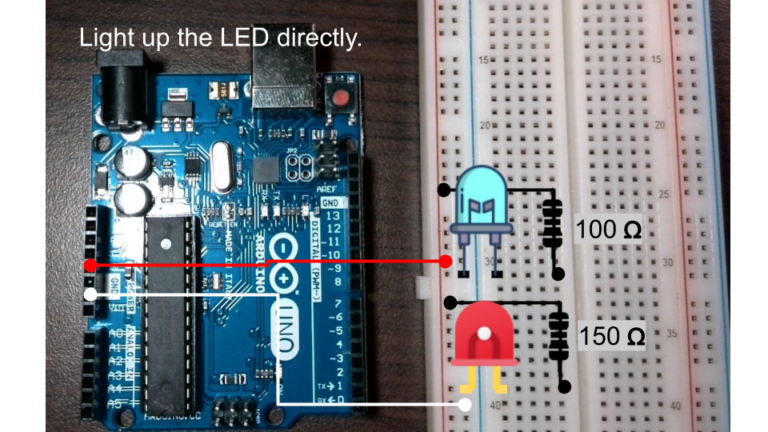
IoTLearn how to light up LEDs with an Arduino Uno board and the proper wiring techniques. Discover the voltage requirements for different colored LEDs and...
 IoT
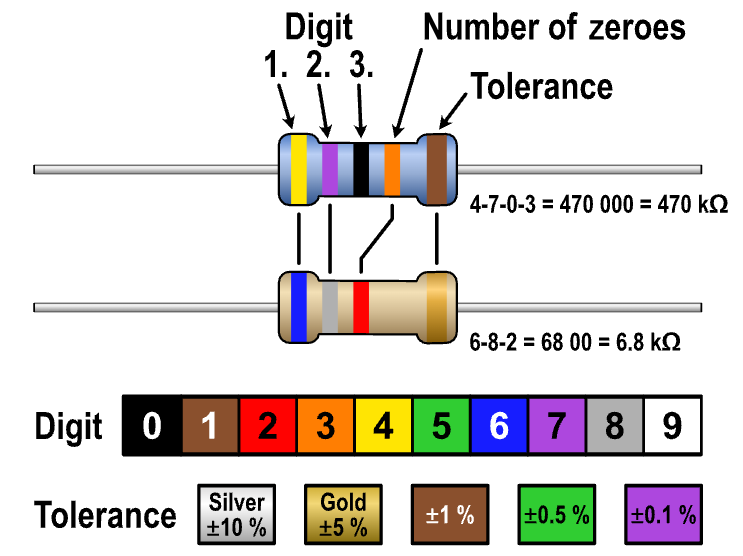
IoTThis article explains the significance of resistor color codes and provides tips on how to identify them. The color bands on a resistor can convey...