In the previous Arduino tutorial, we learned how to control the on/off state of an LED. In this tutorial, we will learn how to control the brightness of an LED using Pulse Width Modulation (PWM) with Arduino.
The LED brightness is controlled by adjusting the duty cycle of the PWM signal. The duty cycle is the ratio of the time the signal is on to the total time of one cycle. The larger the duty cycle, the brighter the LED, and vice versa.
Step 1: Connect the Circuit
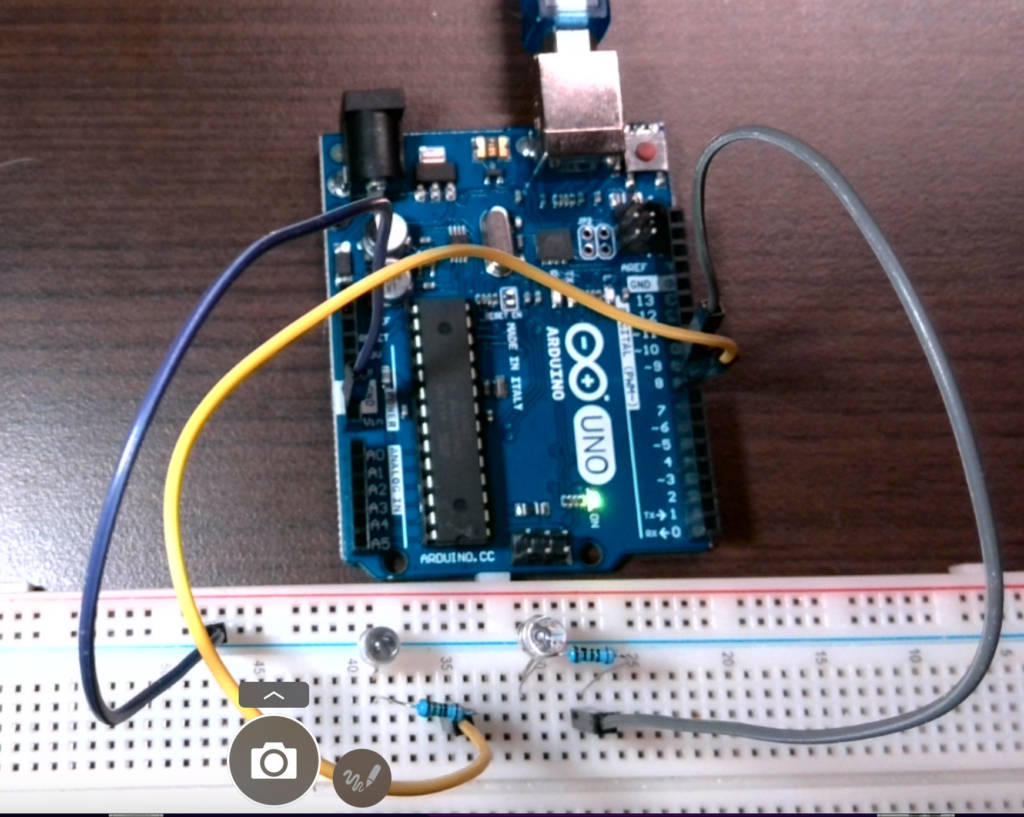
We will keep Pin 8 as a digital control circuit, and connect it to the red LED on the circuit. Another side, connect the anode of the LED to pin 9 of the Arduino. We use a 100-ohm resistor to protect the Arduino and LED. Connect the cathode of the LED to the ground.

Step 2: Write the Code
// the setup function runs once when you press reset or power the board
void setup() {
  // initialize digital pin LED_BUILTIN as an output.
  pinMode(8, OUTPUT);
  pinMode(9, OUTPUT);
}

// the loop function runs over and over again forever
void loop() {
  //red
  digitalWrite(8, HIGH);  // turn the LED on (HIGH is the voltage level)
  delay(1000);                      // wait for a second
  digitalWrite(8, LOW);   // turn the LED off by making the voltage LOW
  delay(1000);
  //blue                    // wait for a second
   for(int i=0; i<256; i++) // Increase brightness from 0 to 255
  {
    analogWrite(9, i); // Set the duty cycle to i
    delay(10); // Wait for 10ms
  }

  for(int i=255; i>=0; i--) // Decrease brightness from 255 to 0
  {
    analogWrite(9, i); // Set the duty cycle to i
    delay(10); // Wait for 10ms
  }

}
Step 3: Explanation of the Code
The code starts with the setup() function, where we set pin 8 and pin 9 as output using the pinMode() function.
In the loop() function, we use a for loop to increase the brightness of the LED from 0 to 255 by increasing the duty cycle of the PWM signal using the analogWrite() function. We wait for 10ms using the delay() function before moving to the next duty cycle.
After reaching the maximum brightness of 255, we use another for loop to decrease the brightness from 255 to 0 by decreasing the duty cycle of the PWM signal. Again, we wait for 10ms between each duty cycle.
Step 4: Upload and Test
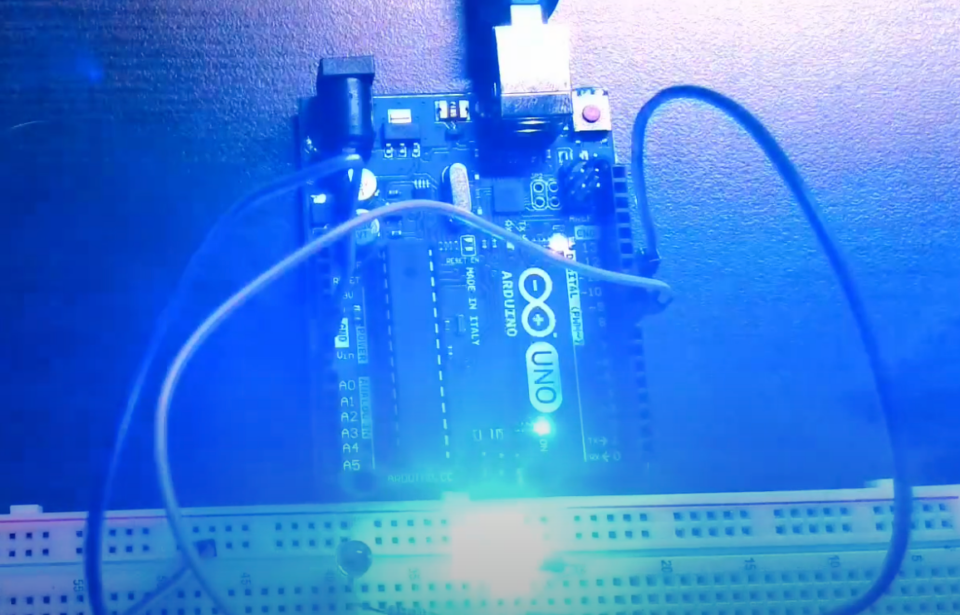
Upload the code to your Arduino board and connect the circuit as described in Step 1. You should see the LED gradually getting brighter and then dimmer in a loop.
In conclusion
Learning how to control LED brightness using Pulse Width Modulation (PWM) is an important skill for any beginner in Arduino programming. By understanding the concept of the duty cycle and using the analogWrite() function, you can easily adjust the brightness of an LED according to your needs. With the simple circuit and code provided in this tutorial, you can start experimenting and creating your own LED projects with different levels of brightness. Whether you’re interested in robotics, or home automation, or just want to explore the world of electronics, mastering PWM will open up a world of possibilities for your Arduino projects.

[…] Arduino Tutorial: Control LED Brightness with PWM for Breathing Effect ArduinoLEDResistor By Ray (System Analyst) 1 Comment […]