運行像 iDempiere 這樣的強大 ERP 系統,不僅需要成功安裝,還需要一套機制來確保服務全天候 24/7 在線。在本指南中,我們將逐步說明如何配置 systemd 服務(通常稱為「看門狗」設置)來自動管理您的 iDempiere 實例。
為什麼要使用 Systemd 來管理 iDempiere?
預設情況下,在終端機中手動執行腳本是有風險的。如果終端關閉或應用程式崩潰,ERP 系統就會停機。透過使用 systemd,您可以獲得:
- 自動啟動:伺服器開機時,iDempiere 會自動啟動。
- 自動重啟:如果服務崩潰,Linux 會自動嘗試重新啟動。
- 依賴管理:確保 iDempiere 僅在資料庫(PostgreSQL)準備就緒後才啟動。
前提條件
- 已安裝並更新的 Ubuntu Server。
- iDempiere 已安裝在
/home/idempiere/idempiere/。 - 已建立名為
idempiere的專用系統使用者。
步驟 1:建立服務檔案
首先,您需要建立一個配置檔案,告訴 Ubuntu 如何管理 iDempiere。開啟終端機並建立以下檔案:
Bash
sudo nano /etc/systemd/system/idempiere.service
步驟 2:配置程式碼
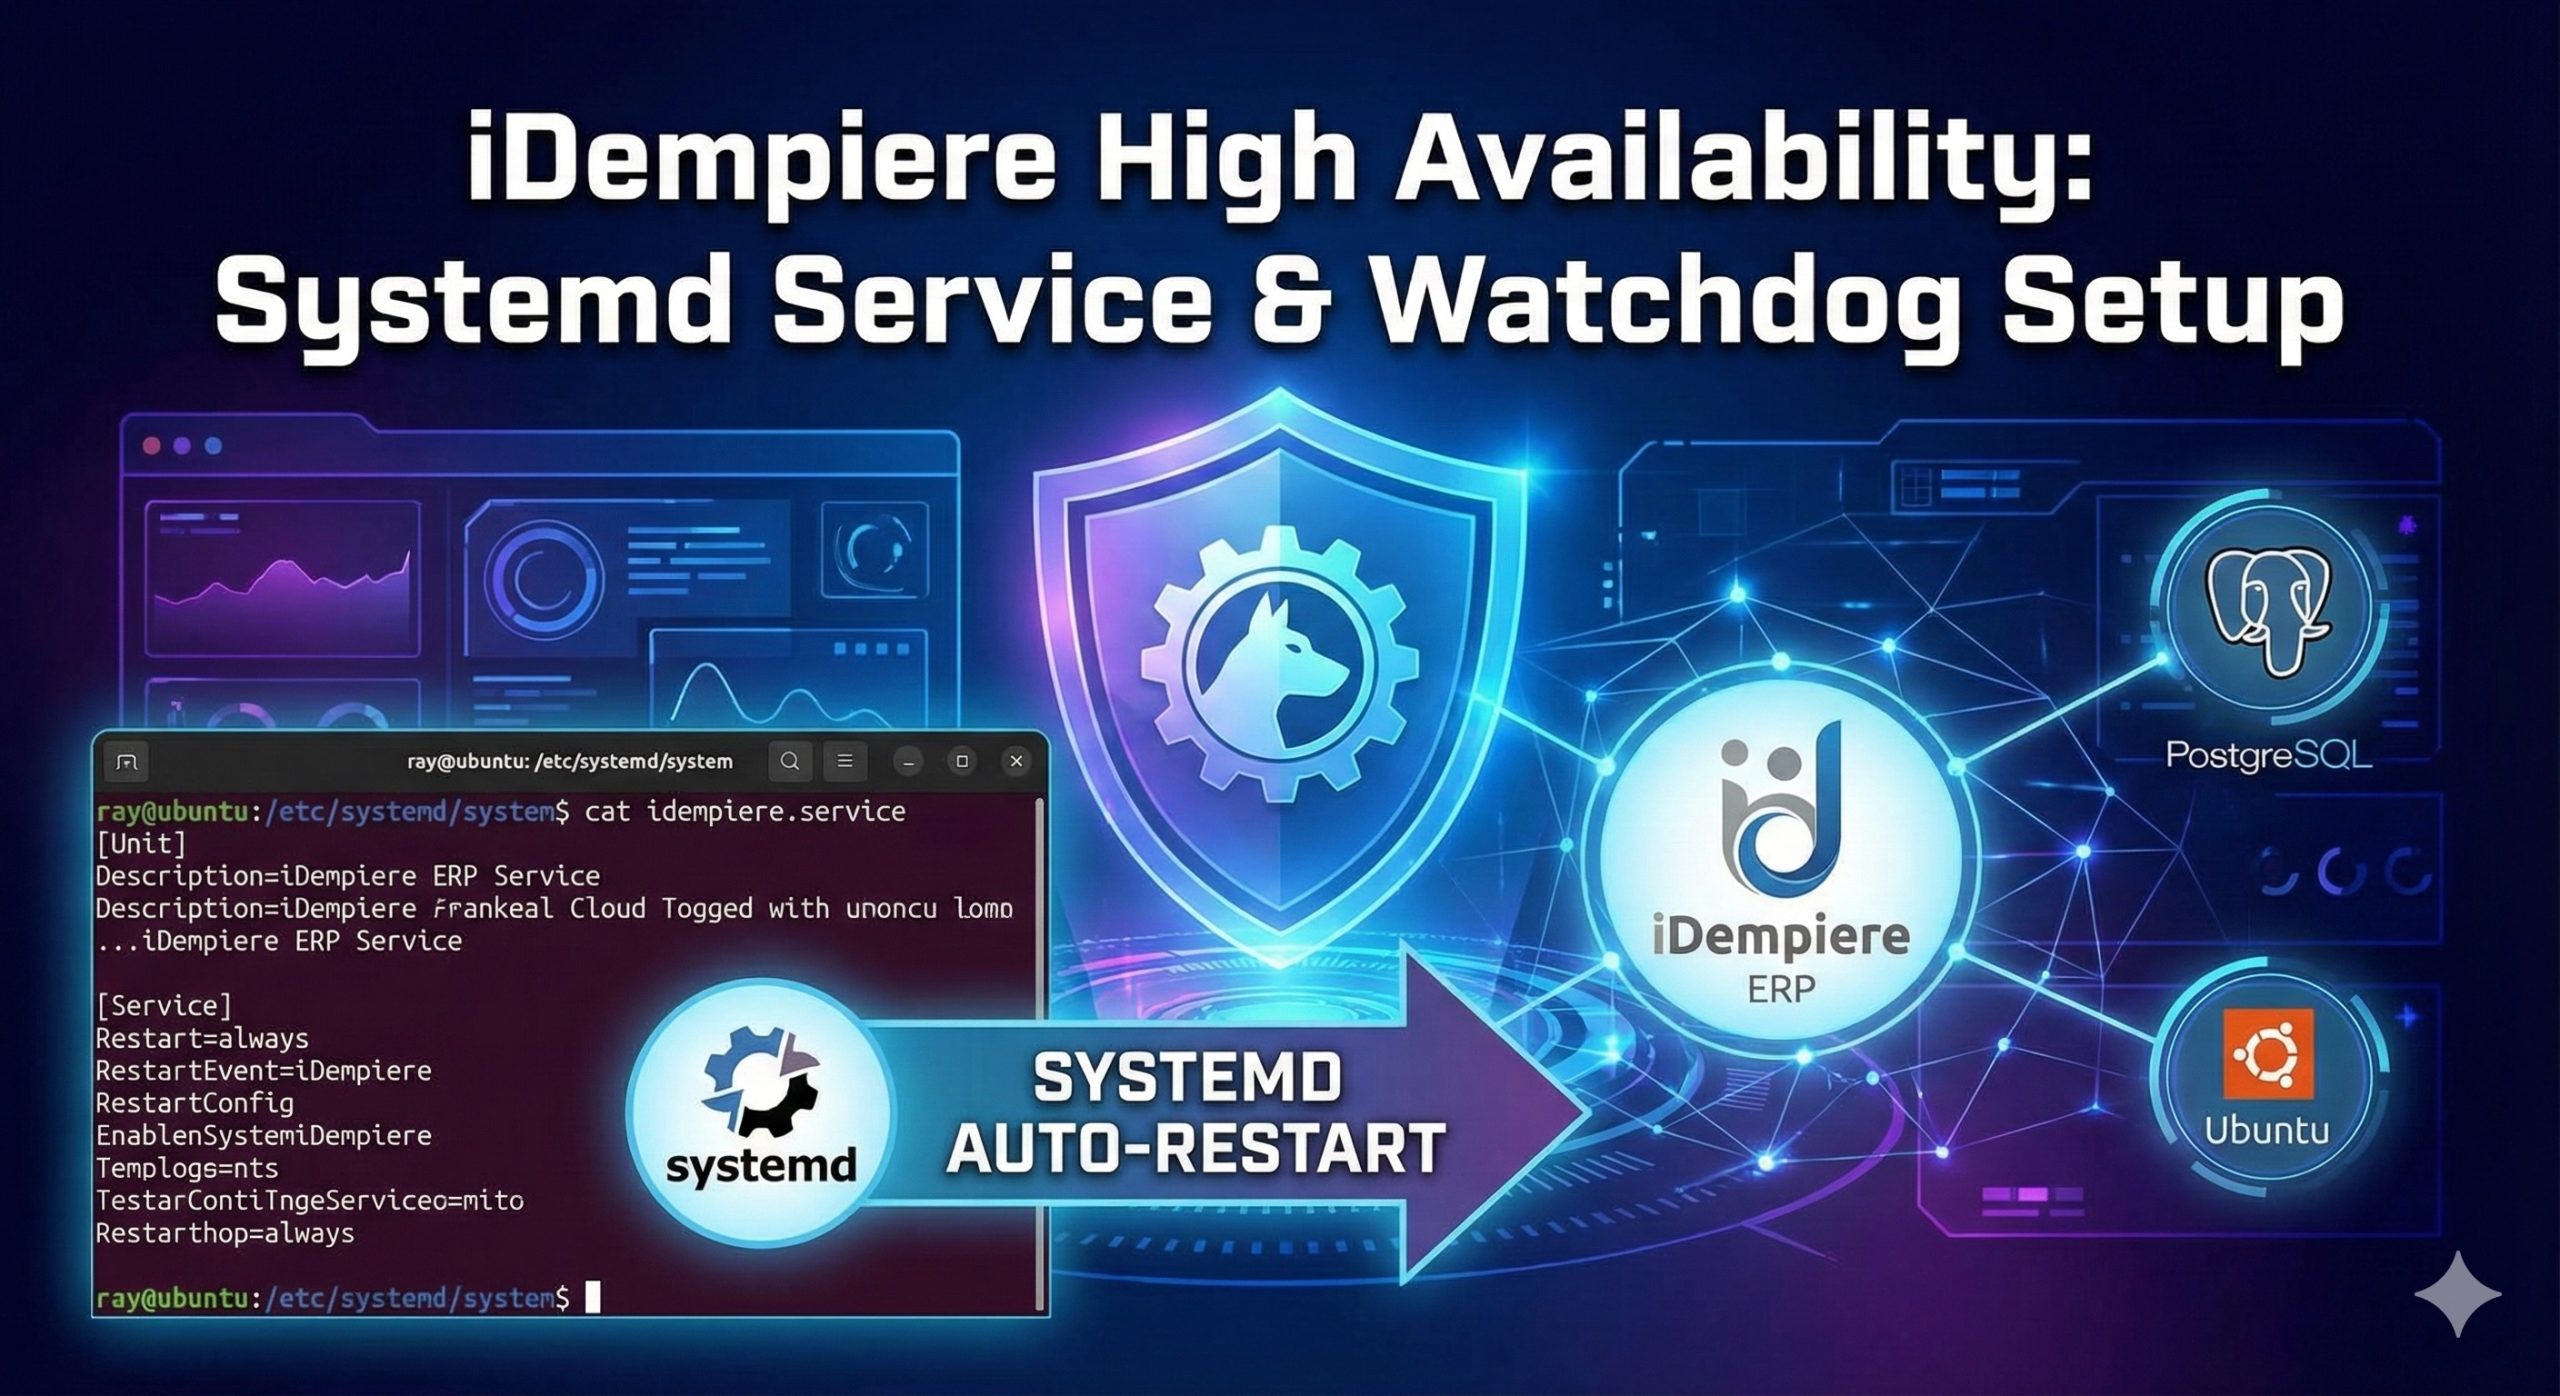
將以下配置複製並貼上到檔案中。此設定確保系統等待 PostgreSQL 就緒,並在 iDempiere 故障時每 10 秒重新啟動一次。
[Unit]
Description=iDempiere ERP Service
After=network.target

[Service]
Type=simple
User=idempiere
WorkingDirectory=/home/idempiere/idempiere/
ExecStart=/bin/bash /home/idempiere/idempiere/idempiere-server.sh
Restart=always
RestartSec=10

[Install]
WantedBy=multi-user.target
關鍵參數說明:
- After=postgresql.service:這一點至關重要。它防止 iDempiere 嘗試連接尚未完成啟動的資料庫。(如果資料庫和 ERP 安裝在同一台主機上)
- User=idempiere:基於安全考量,我們在非 root 使用者下運行應用程式。
- ExecStart:指向 iDempiere 提供的官方啟動腳本。
- Restart=always:這就是您的「看門狗」。如果進程因任何原因終止,systemd 將觸發重新啟動。
- RestartSec=10:在重啟嘗試之間添加 10 秒延遲,以防止「快速連續」崩潰循環對 CPU 造成壓力。
步驟 3:啟用並啟動服務
檔案儲存後,您必須通知系統新的配置並啟用它在開機時運行。
- 重新載入 systemd 守護程式:
sudo systemctl daemon-reload - 啟用服務在開機時啟動:
sudo systemctl enable idempiere.service - 立即啟動服務:
sudo systemctl start idempiere.service
步驟 4:驗證狀態
要確認您的 iDempiere「看門狗」是否正常運作,請檢查服務狀態:
Bash
sudo systemctl status idempiere.service
您應該會看到「active (running)」狀態。如果您需要查看即時日誌進行故障排除,請使用:
Bash
journalctl -u idempiere.service -f
停止、啟動、重啟服務
sudo systemctl stop idempiere.service
sudo systemctl start idempiere.service
sudo systemctl restart idempiere.service
結論
透過這幾個簡單的步驟,您已經將 iDempiere 安裝轉變為一個具有韌性的、可投入生產環境的服務。此設定最大限度地減少了停機時間,並確保您的 ERP 環境始終對使用者可用。
English Version
Running a robust ERP system like iDempiere requires more than just a successful installation; it requires a mechanism to ensure the service stays online 24/7. In this guide, we will walk through the process of configuring a systemd service (often referred to as a “watchdog” setup) to manage your iDempiere instance automatically.
Why Use Systemd for iDempiere?
By default, running a script manually in the terminal is risky. If the terminal closes or the application crashes, the ERP goes down. By using systemd, you gain:
- Auto-Start: iDempiere starts automatically when the server boots.
- Auto-Restart: If the service crashes, Linux will automatically attempt to restart it.
- Dependency Management: Ensures iDempiere only starts after the database (PostgreSQL) is ready.
Prerequisites
- Ubuntu Server installed and updated.
- iDempiere installed in
/home/idempiere/idempiere/. - A dedicated system user named
idempiere.
Step 1: Create the Service File
First, you need to create a configuration file that tells Ubuntu how to handle iDempiere. Open your terminal and create the following file:
Bash
sudo nano /etc/systemd/system/idempiere.service
Step 2: The Configuration Code
Copy and paste the following configuration into the file. This setup ensures that the system waits for PostgreSQL and restarts iDempiere every 10 seconds if it fails.
[Unit]
Description=iDempiere ERP Service
After=network.target

[Service]
Type=simple
User=idempiere
WorkingDirectory=/home/idempiere/idempiere/
ExecStart=/bin/bash /home/idempiere/idempiere/idempiere-server.sh
Restart=always
RestartSec=10

[Install]
WantedBy=multi-user.target
Breakdown of Key Parameters:
- After=postgresql.service: This is critical. It prevents iDempiere from trying to connect to a database that hasn’t finished booting yet. (If you installed DB and ERP on the same host)
- User=idempiere: For security, we run the application under a non-root user.
- ExecStart: Points to the official startup script provided by iDempiere.
- Restart=always: This acts as your “watchdog.” If the process dies for any reason, systemd will trigger a restart.
- RestartSec=10: This adds a 10-second delay between restart attempts to prevent “rapid-fire” crashing loops that could stress the CPU.
Step 3: Enable and Start the Service
Once the file is saved, you must notify the system of the new configuration and enable it to run at boot.
- Reload the systemd daemon:
sudo systemctl daemon-reload - Enable the service to start at boot:
sudo systemctl enable idempiere.service - Start the service immediately:
sudo systemctl start idempiere.service
Step 4: Verify the Status
To confirm that your iDempiere “watchdog” is working correctly, check the service status:
Bash
sudo systemctl status idempiere.service
You should see an “active (running)” status. If you ever need to view the real-time logs to troubleshoot, use:
Bash
journalctl -u idempiere.service -f
Stop , Start , Restart Service
sudo systemctl stop idempiere.service
sudo systemctl start idempiere.service
sudo systemctl restart idempiere.service
Conclusion
With these few steps, you have transformed your iDempiere installation into a resilient, production-ready service. This setup minimizes downtime and ensures that your ERP environment is always available for your users.
日本語版
iDempiere のような堅牢な ERP システムを運用するには、インストールの成功だけでなく、サービスを24時間365日オンラインに保つ仕組みが必要です。本ガイドでは、systemd サービス(一般に「ウォッチドッグ」設定と呼ばれる)を構成して、iDempiere インスタンスを自動的に管理する手順を説明します。
なぜ iDempiere に Systemd を使用するのか?
デフォルトでは、ターミナルでスクリプトを手動実行するのはリスクがあります。ターミナルが閉じたりアプリケーションがクラッシュした場合、ERP はダウンします。systemd を使用することで、以下のメリットが得られます:
- 自動起動:サーバー起動時に iDempiere が自動的に開始されます。
- 自動再起動:サービスがクラッシュした場合、Linux が自動的に再起動を試みます。
- 依存関係管理:データベース(PostgreSQL)の準備が完了してから iDempiere が起動するようにします。
前提条件
- Ubuntu Server がインストールされ、更新されていること。
- iDempiere が
/home/idempiere/idempiere/にインストールされていること。 idempiereという名前の専用システムユーザーが作成されていること。
ステップ 1:サービスファイルの作成
まず、Ubuntu に iDempiere の管理方法を指示する設定ファイルを作成する必要があります。ターミナルを開き、以下のファイルを作成してください:
Bash
sudo nano /etc/systemd/system/idempiere.service
ステップ 2:設定コード
以下の設定をファイルにコピー&ペーストしてください。この設定により、システムは PostgreSQL を待機し、iDempiere が障害を起こした場合に10秒ごとに再起動します。
[Unit]
Description=iDempiere ERP Service
After=network.target

[Service]
Type=simple
User=idempiere
WorkingDirectory=/home/idempiere/idempiere/
ExecStart=/bin/bash /home/idempiere/idempiere/idempiere-server.sh
Restart=always
RestartSec=10

[Install]
WantedBy=multi-user.target
主要パラメータの説明:
- After=postgresql.service:これは非常に重要です。まだ起動が完了していないデータベースに iDempiere が接続しようとするのを防ぎます。(DB と ERP を同じホストにインストールした場合)
- User=idempiere:セキュリティのため、アプリケーションは root 以外のユーザーで実行します。
- ExecStart:iDempiere が提供する公式起動スクリプトを指定します。
- Restart=always:これが「ウォッチドッグ」として機能します。何らかの理由でプロセスが終了した場合、systemd が再起動をトリガーします。
- RestartSec=10:再起動の試行間に10秒の遅延を設け、CPU に負荷をかける「高速連続」クラッシュループを防止します。
ステップ 3:サービスの有効化と起動
ファイルを保存したら、新しい設定をシステムに通知し、起動時に実行されるよう有効にする必要があります。
- systemd デーモンのリロード:
sudo systemctl daemon-reload - 起動時にサービスを有効化:
sudo systemctl enable idempiere.service - サービスの即時起動:
sudo systemctl start idempiere.service
ステップ 4:ステータスの確認
iDempiere の「ウォッチドッグ」が正しく動作していることを確認するには、サービスの状態を確認してください:
Bash
sudo systemctl status idempiere.service
「active (running)」ステータスが表示されるはずです。トラブルシューティングのためにリアルタイムログを確認する必要がある場合は、以下を使用してください:
Bash
journalctl -u idempiere.service -f
サービスの停止、起動、再起動
sudo systemctl stop idempiere.service
sudo systemctl start idempiere.service
sudo systemctl restart idempiere.service
まとめ
これらの簡単な手順により、iDempiere のインストールを回復力のある本番環境対応のサービスに変換しました。この設定によりダウンタイムが最小限に抑えられ、ERP 環境がユーザーに常に利用可能な状態に保たれます。